By Krystal Meldrum
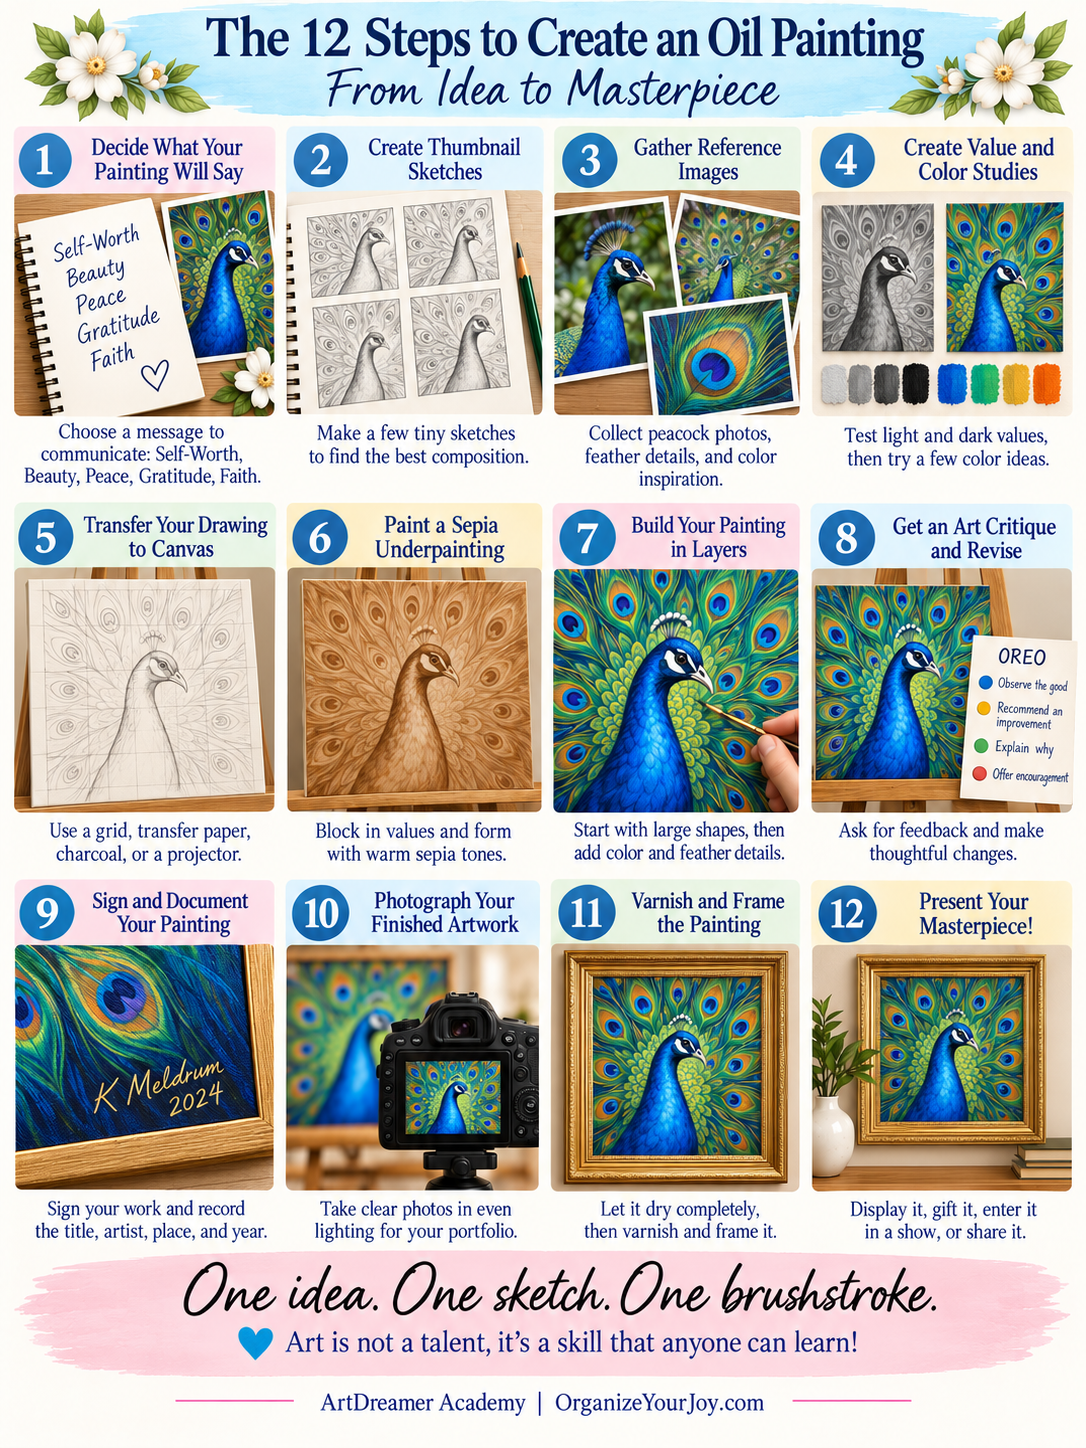
A beautiful oil painting doesn't begin with paint. It begins with an idea!
Professional artists brainstorm, sketch, experiment, revise, and solve problems before creating a masterpiece.
I teach my students these 12 steps to develop creativity, craftsmanship, and confidence. This process also supports Visual Arts Standard VA.1.8a, which encourages students to document their creative thinking.
Show your thinking. Enjoy the process!
1. Decide What Your Painting Will Say
Every masterpiece begins with a message.
What do you want to communicate? Peace, courage, beauty, or adventure? Art is visual storytelling!
2. Create Thumbnail Sketches
Small sketches. Big possibilities.
Experiment with several tiny compositions. Move your focal point, change proportions, and discover what works best.
3. Gather Reference Images
Great artists gather great inspiration.
Take your own photos using natural lighting and different angles. Explore Unsplash, Pexels, Pixabay, public-domain images, or AI-generated references.
Be careful! Stock photos can make everyone's artwork look alike, and combining inconsistent lighting can create confusing shadows. Check image rights and create something uniquely yours.
4. Create Value and Color Studies
Light creates form. Color creates feeling.
First, establish highlights, middle values, and shadows in black and white. Then experiment with color combinations to communicate different moods.
5. Transfer Your Drawing to Canvas
Work smarter. Paint better.
Use graphite transfer paper, a projector, charcoal, or a grid. Professional artists use tools to establish accurate compositions!
6. Paint a Sepia Underpainting
Build your painting from the shadows up.
Establish values, form, and depth with warm sepia tones before introducing full color.
7. Build Your Oil Painting in Layers
Paint. Adjust. Refine. Repeat.
Begin with large shapes, then develop color, shadows, and details.
Writers rewrite. Musicians rehearse. Artists repaint!
8. Get an Art Critique and Revise
Fresh eyes reveal new possibilities.
Ask for feedback on composition, values, and focal points. Use the OREO method: Observe the good, Recommend an improvement, Explain why, and Offer encouragement.
Great artists have the grit to revise!
9. Sign and Document Your Painting
Your artwork deserves a signature!
Sign with a liner brush. Record the title, artist's name, city and state, year, and copyright symbol on the back.
10. Photograph Your Finished Artwork
Capture your masterpiece before varnishing!
Use even lighting and accurate colors. Quality photographs are valuable for portfolios, websites, exhibitions, and future business opportunities.
11. Varnish and Frame Your Painting
Presentation matters!
Allow adequate drying time before varnishing, following manufacturer recommendations. Choose a frame that complements your artwork and add appropriate hanging hardware.
12. Present Your Masterpiece!
Art is meant to be shared!
Display your painting, enter an exhibition, give it as a gift, or present it to a client.
Let your creativity inspire someone!
Every Artist Starts Somewhere!
One idea. One sketch. One brushstroke.
These 12 steps teach more than painting. They develop planning, patience, problem-solving, and craftsmanship.
Start small. Practice consistently. Watch your skills grow!
💙 Art is not a talent, it’s a skill that anyone can learn!
Explore beginner-friendly drawing and painting courses at ArtDreamer Academy | OrganizeYourJoy.com.