Beginner Drawing Tips for Homeschool Kids
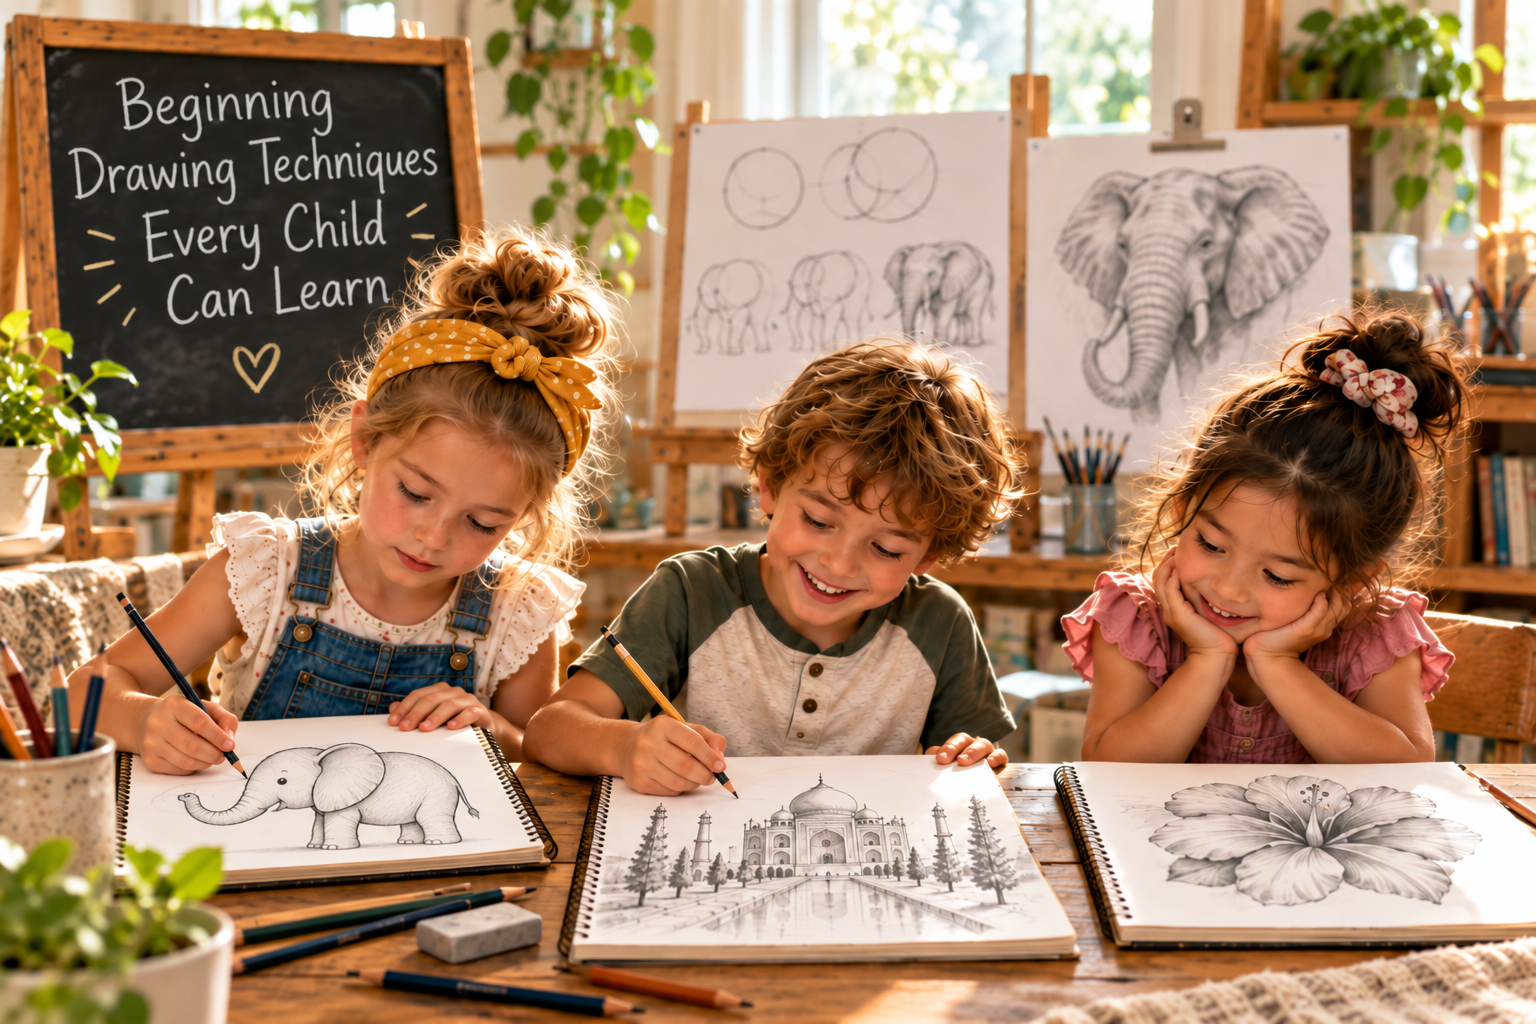
Let’s practice beginner drawing techniques in our kitchen art studio, using simple shapes, light sketching, shading, and texture to create elephants, flowers, peacocks, and the Taj Mahal. The scene highlights step-by-step homeschool drawing lessons that build real skills and confidence.
Drawing can feel intimidating when kids think they have to create the finished picture all at once.
They don’t.
The best drawing techniques for kids teach children how to slow down, look carefully, and build their drawing one step at a time. These beginner techniques work especially well for homeschool families because parents do not need to be artists themselves.
Start With Basic Shapes
Most complicated drawings are built from simple shapes.
An elephant can begin with an oval body and a smaller head shape.
A peacock can begin with ovals and curved lines.
A castle can begin with rectangles, triangles, and cylinders.
Teach your child to look for the “bones” of the drawing before adding details.
This is one of the easiest ways to replace “I can’t draw that” with “I know where to start.”
Keep the First Lines Light
Beginners often press too hard with their pencils. Instead, encourage kids to make soft, light sketch lines first. These faint lines can be moved, erased, and corrected as the drawing develops. Artists rarely get every line right the first time.
Light lines give kids permission to change their minds.
Ghost In the Whole Drawing
Before drawing one area in detail, lightly sketch the entire composition.
This helps children check:
size
placement
proportion
available space
how objects relate to each other
It also prevents the classic problem of drawing one beautiful object and then discovering there is not room for everything else.
Draw Big Shapes Before Small Details
Kids often want to draw eyelashes, feathers, flowers, or bricks immediately.
Teach them to wait.
First find the large shapes. Then medium shapes. Then the details.
This simple order makes drawing easier and helps the finished artwork have the bones one needs to draw in proportion.
Learn Light, Medium, and Dark Values
Shading is what helps a flat drawing begin to look three-dimensional.
Have your child practice making three simple values:
Light: gentle pencil pressure
Medium: slightly stronger pressure
Dark: firm pressure or a softer pencil like a 6B pencil.
Once they can see lightly sketch in their drawing, they can begin adding shadows and darker details.
Try Different Pencil Strokes
Drawing becomes more interesting when kids learn that every line does not to be the same mark.
Try:
straight lines
curved lines
hatching
crosshatching
stippling
scumbling
circular strokes
bundling
smooth shading
For example, curved strokes can help elephant wrinkles wrap around the body, while bundling lines create texture in tree bark.
Look for Light and Shadow
Ask your child:
Where is the light coming from?
Which side is darker?
What is casting the shadow?
Where should the brightest highlight remain?
Learning to notice light helps kids move from outlining objects to actually drawing form.
Try a Step-by-Step Drawing Project
Once kids understand these beginner techniques, they can apply them to a complete drawing.
At ArtDreamer Academy, projects like Elephant Bathtime teach students to build animals from basic shapes and add wrinkles, texture, and shading, while The Taj Mahal Garden introduces composition, graphite techniques, and one-point perspective.
The goal is not to copy perfectly.
The goal is to learn how artists think and build their compositions.
A Gentle Place to Begin
Start with one pencil. One shape. One light line. Then build from there.
Drawing techniques for kids do not have to be complicated. When art students learn how to simplify what they see, drawing becomes less frightening—and a lot more fun.
At ArtDreamer Academy, our step-by-step homeschool drawing lessons help young artists build real skills, confidence, and creativity one project at a time.